Tiếng Việt
Technical Support
How to install RSLogix/Studio 5000?

Summary
How to install RSLogix/Studio 5000?
Environment
- Studio 5000
- RSLogix 5000
Answer
Software can be downloaded from Rockwell Automation web page.
For more details refer to IP14 – How to get your software updates (U.S. Organizations)
Note: it is recommended to install Rockwell Software from lower to higher version.
Please also check QA53616 – Installation Requirements for RSLogix 5000 or Studio 5000 Logix Designer Software before installing software.
Please follow the steps below in order to install the software:
Studio 5000 v16.05, v20.05, v24.02, 28.03, v30 and greater
RSLogix 5000 from v13 to v20
- Double click on
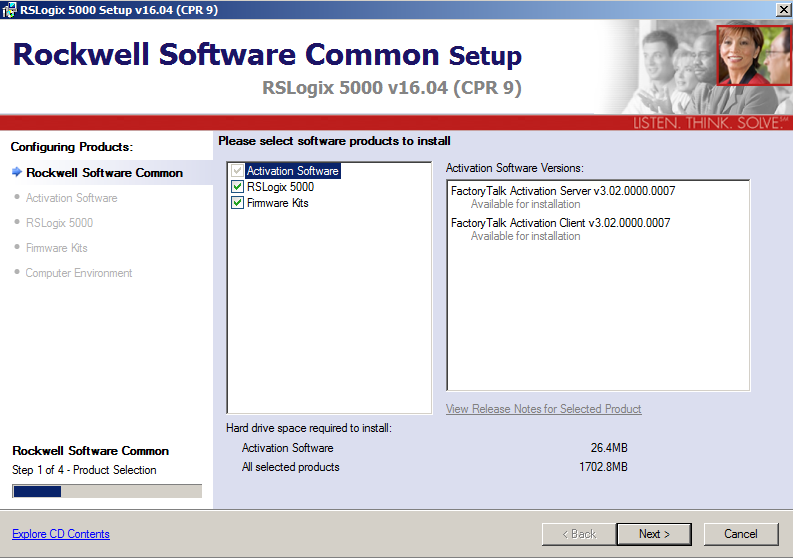
setup.exefrom installation folder - It will open the installation window. Select products you want to install, click Next.
- Type in your name, company name and serial number, click Next.
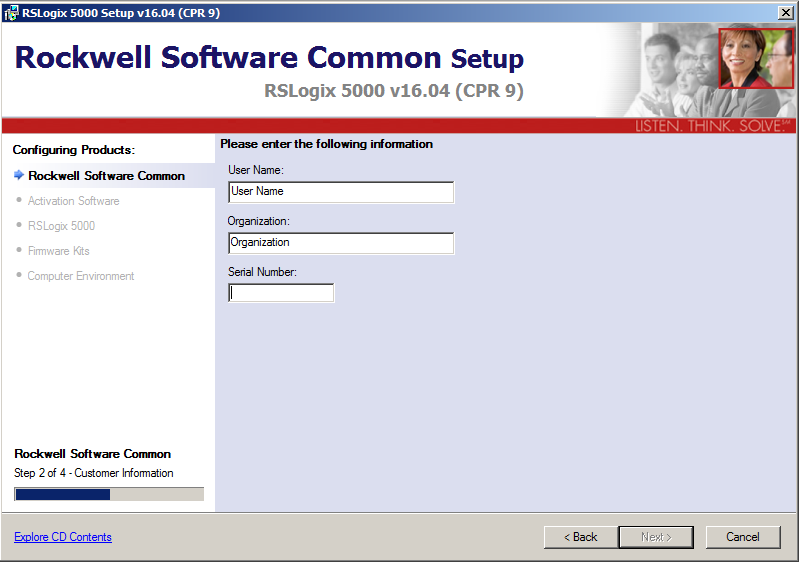
Note: If you are using a temporary or gold master license, change the letterKto number0.Note 2: When using a toolkit license and receive an Invalid Serial Number error. Modify the first four digits of the serial number according to the toolkit edition.- 1203 – Mid-Range Plus Design Suite Toolkit
- 2022 – Enterprise Design Suite Toolkit
- 1635 – Mid-Range Design Suite Toolkit
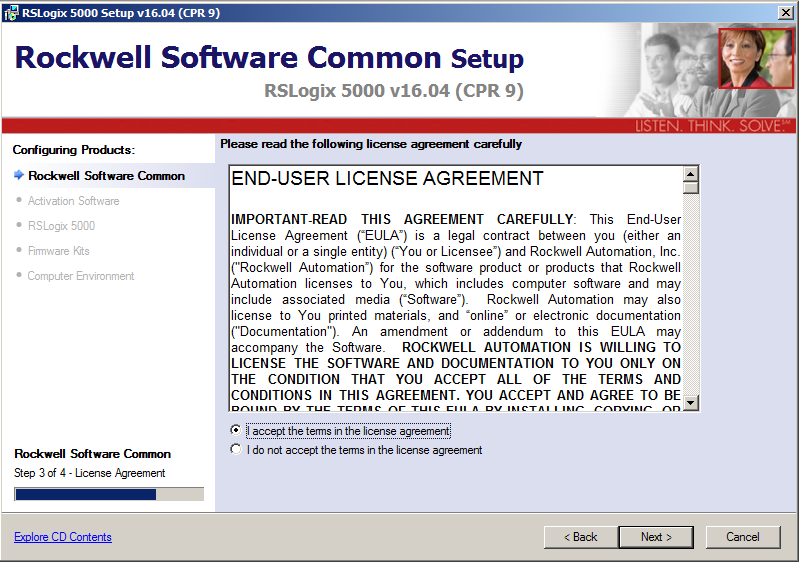
- Read carefully and accept the license agreement, click Next.
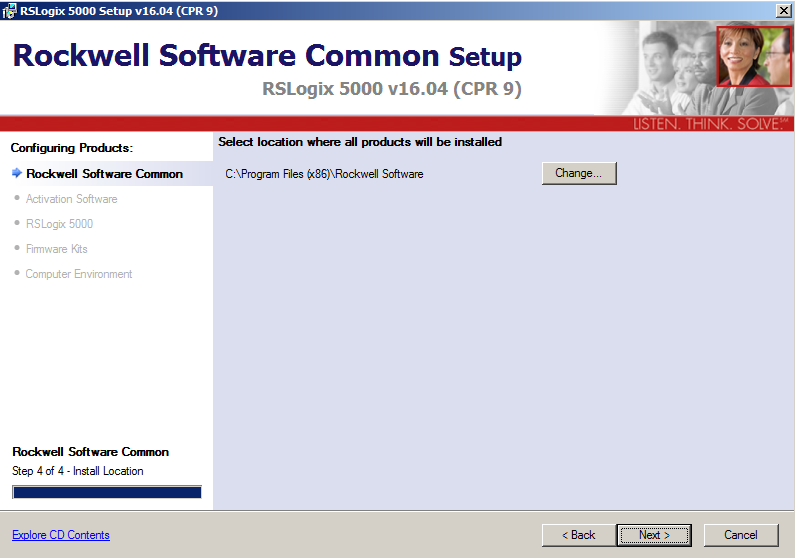
- Select location where you want to install the software, click Next.
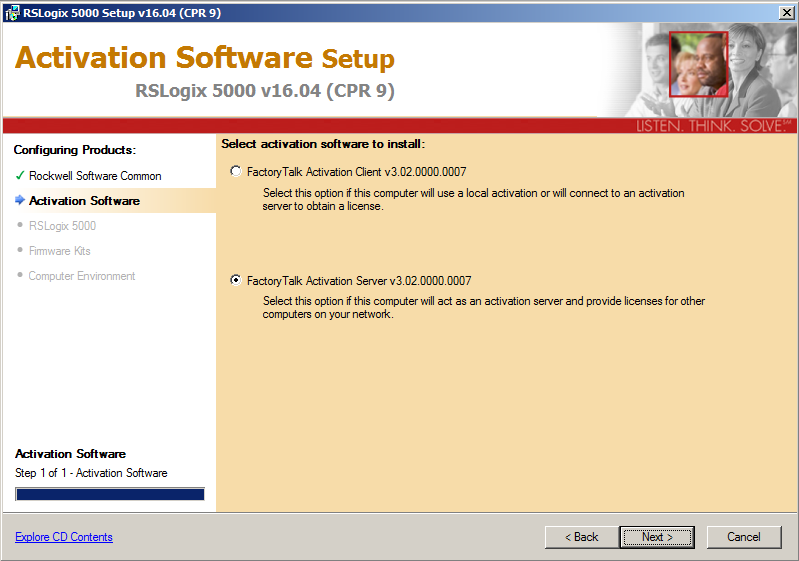
- Choose the method of the activation, click Next.
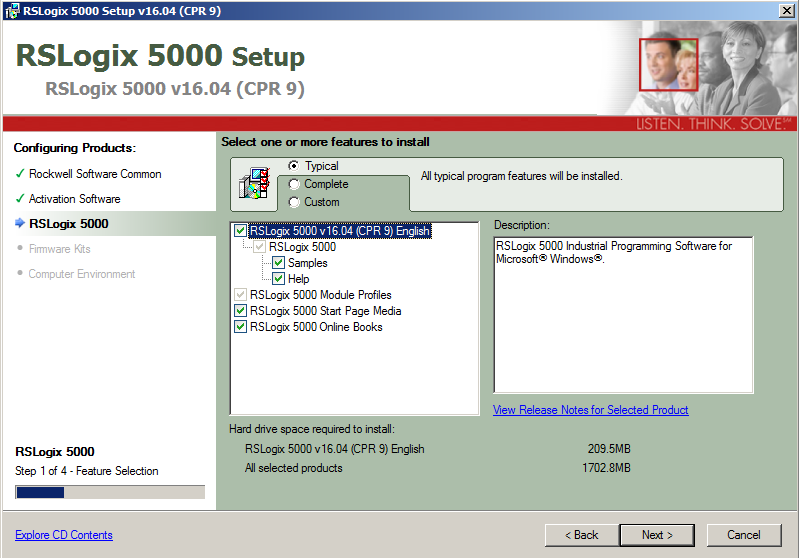
- Select features you want to install, click Next.
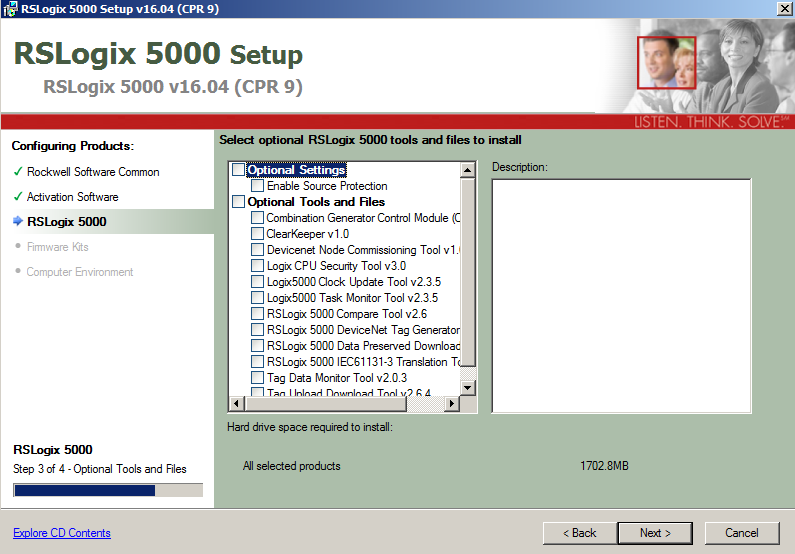
- Choose Optional Tools and Files you want to install, click Next.
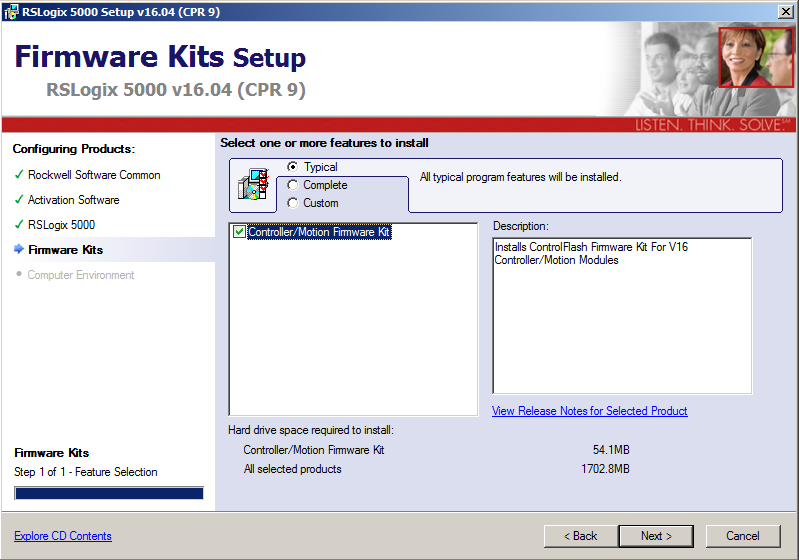
- Select the feature that you want to install, click Next.
- Check the list of the components and click Install.
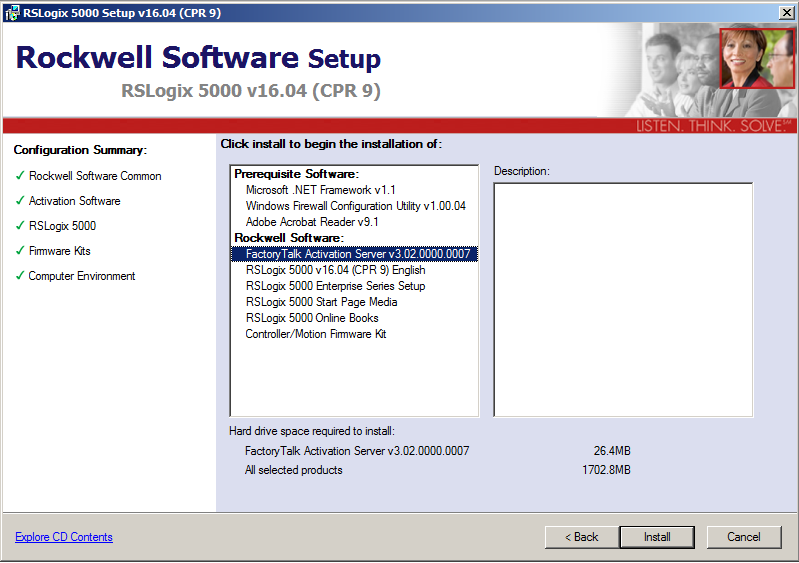
- It will show installation progress.
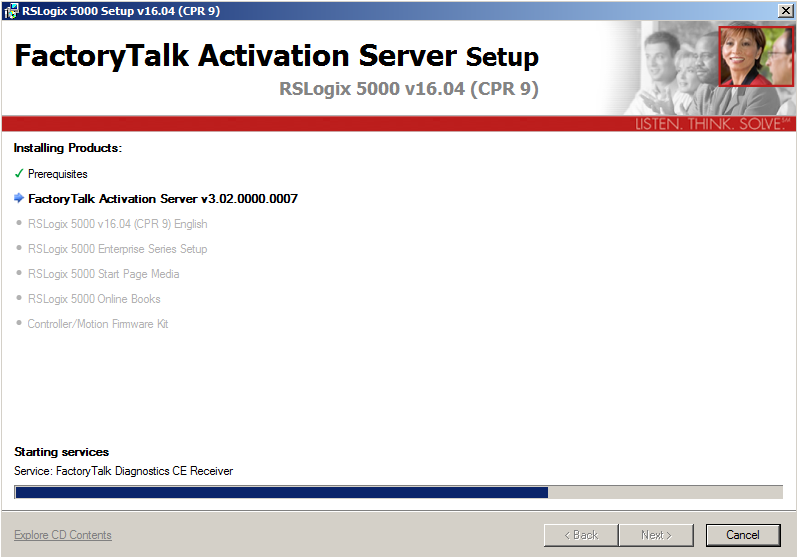
- It will display
installation completemessage.
Studio 5000 from v21 to v29
- Double click on
setup.exefrom installation folder. - It will open installation window. Type your name, company name and serial number.
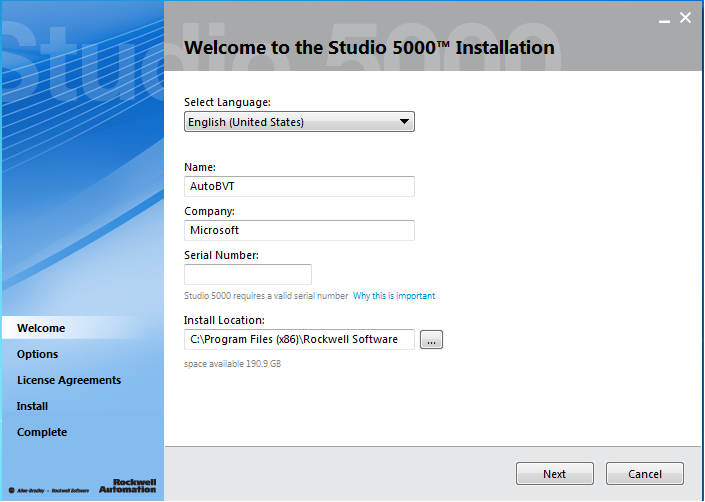
Note: If you are using a temporary or gold master license, change the letterKto number0.Note 2: When using a toolkit license and receive an Invalid Serial Number error. Modify the first four digits of the serial number according to the toolkit edition.- 1203 – Mid-Range Plus Design Suite Toolkit
- 2022 – Enterprise Design Suite Toolkit
- 1635 – Mid-Range Design Suite Toolkit
- At this point it will install module profiles. It may ask you to reboot your computer (v27). Note: in v27 after reboot you will have no access to your computer until installation completes.
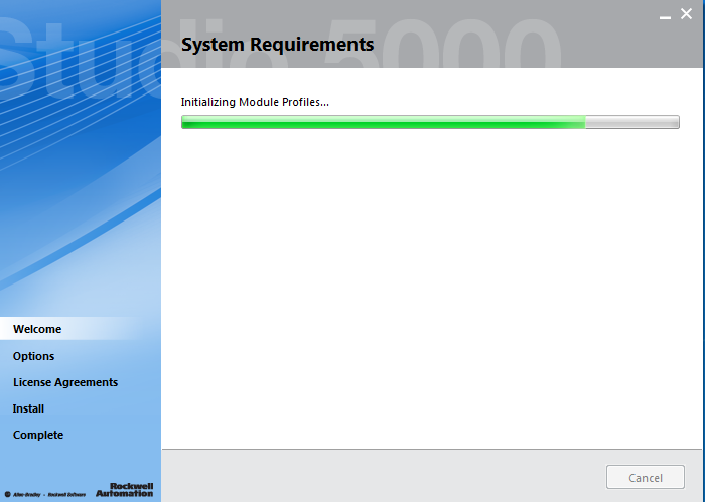
- Choose the components under Components that you like to install.
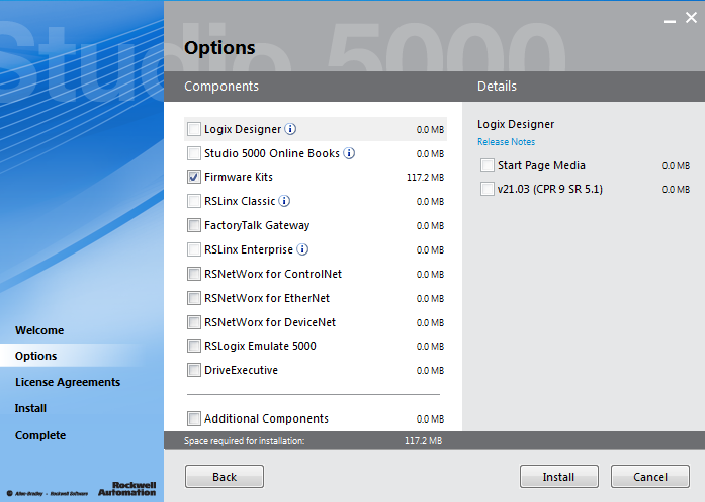
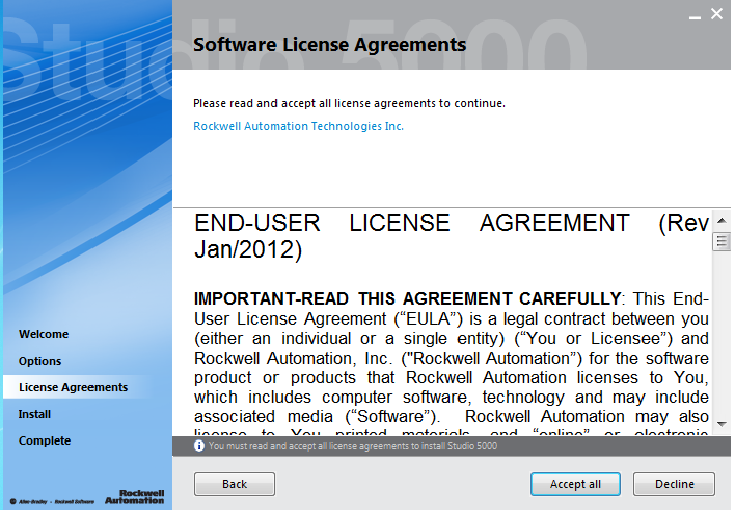
- Read carefully and accept license agreement.
- It will show installation progress.
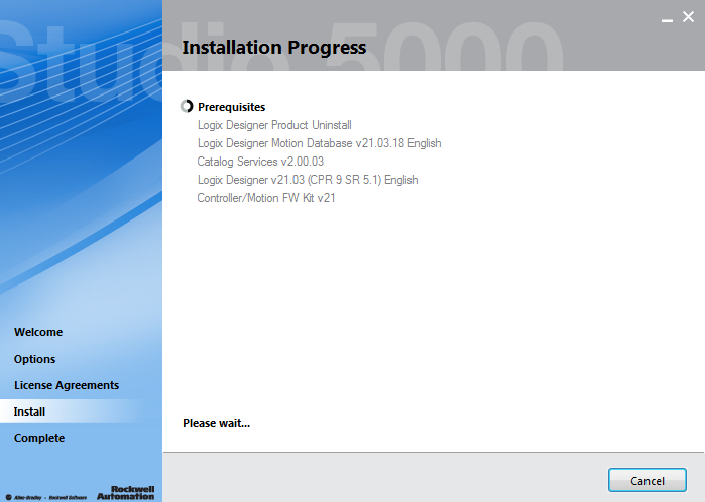
- It will display
installation completemessage
Studio 5000 v16.05, v20.05, v24.02, v28.03, v30 and greater
- Double click on
setup.exefrom installation folder. - Select
Install noworCustomize.
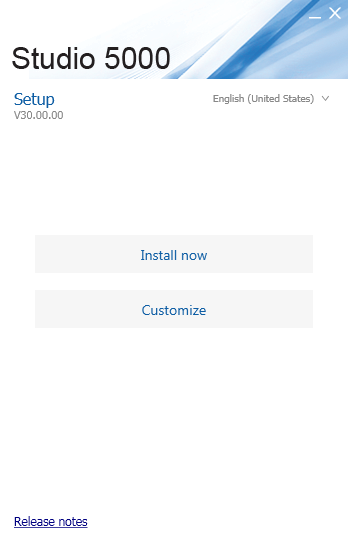
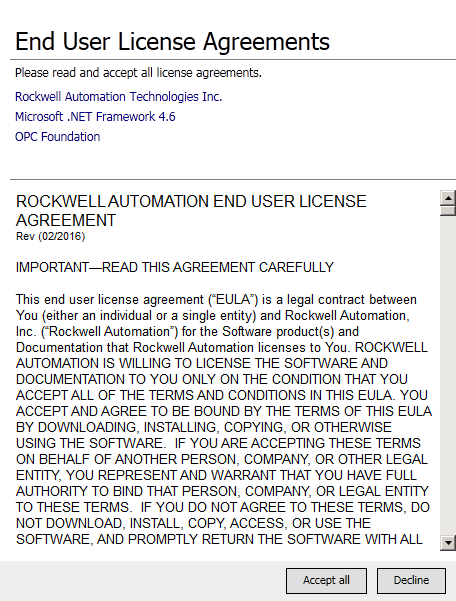
- Read carefully and accept license agreement.
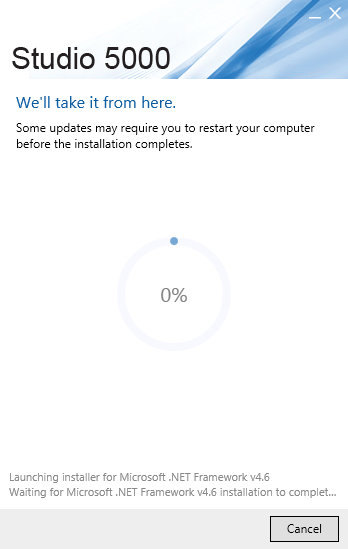
- It will show installation progress.
- Choose if you want to activate your software now or later, click Next
Note: If the software has been activated previously it does not need to be activated again. There is no need to activate each version of the software that is installed.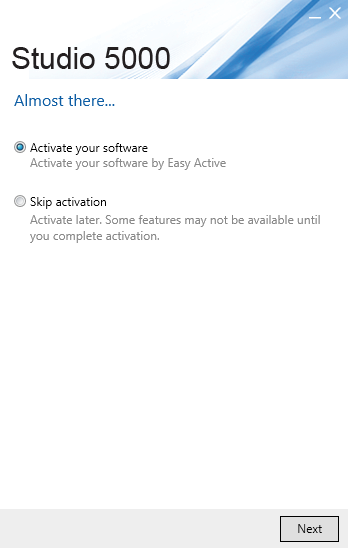
- It will display installation complete message, click Close.